As Invisible speaker form an integral part of your finished ceiling, installation requires a little planning and forethought for the best outcomes.
Placement with invisibles is unlike traditional visible ceiling / wall speakers. Invisible speakers have a wider dispersion pattern and considering the end result can not be seen, it means you are not strictly refined to using gridlines that match lighting or other features in the finished ceiling. This added flexibility can come in very handy.
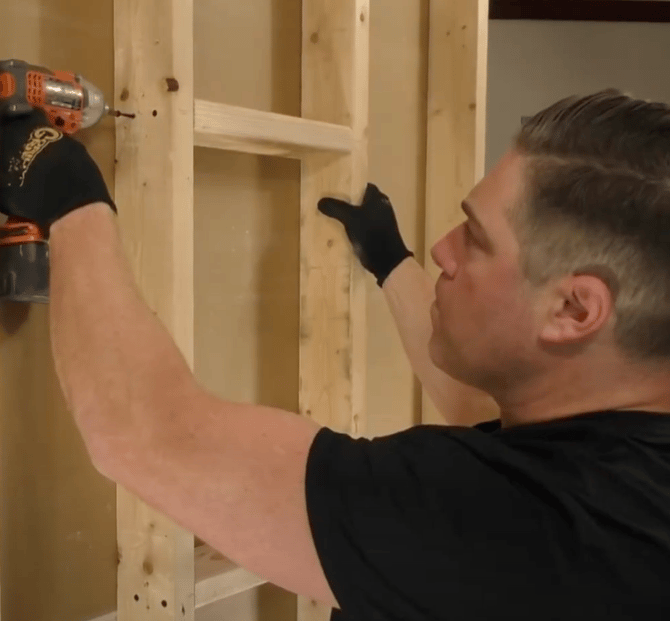
It is important to note that these speakers should be framed up on all four sides of the speaker to ensure a very solid bond between the speaker and the framing of the wall or ceiling. In timber construction this is fairly straight forward, attach noggins at the appropriate centres to match the edge of the speaker size selected in your project:
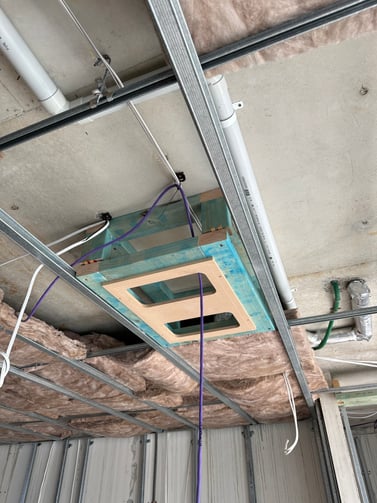
In metal frame construction (more common in ceilings) the best solution where possible is to frame out a timber box from the slab above, bringing the front edge of the timber frame flush with the furring channel:
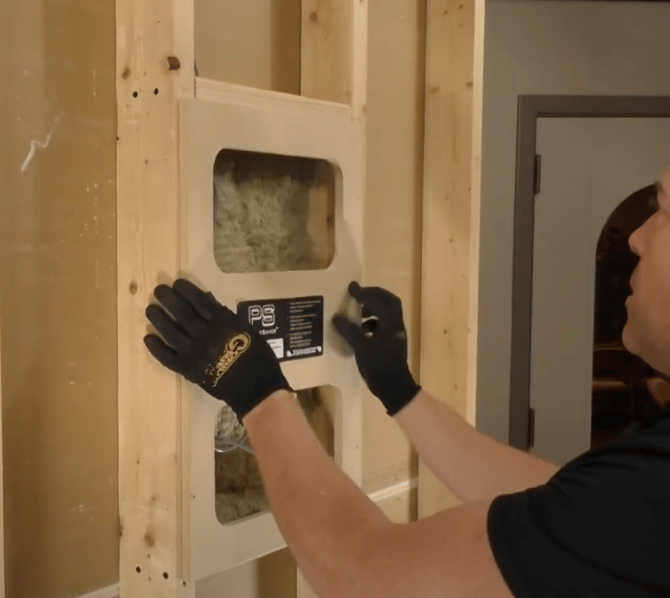
The next step is to install place savers. These squares are the same size as the finished speaker panel and ensure the adequate space for the speaker is reserved when the plaster goes on:
From here on, the process is the same regardless of location (wall / ceiling) or construction type (timber or metal frame).
Helpful tip: Ensure the plaster is applied with as small a gap as possible to the place saver. This minimises the amount of space to later be filled with joint compound and as such reduces drying time.
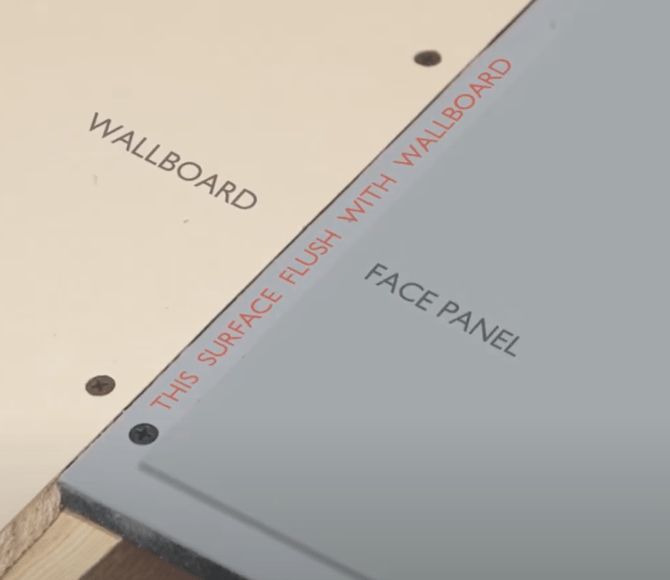
Once plaster is installed, remove the place saver and install the speaker, ensuring the outer frame of the speaker is flush with the plaster. Note this may require the use of included shims:
Stealth's 8th generation Linear Radiance (LRAD) speakers now include sealed backboxes which are affixed to the back of the speaker as standard. These can be removed for shallow installation but it is recommended to leave these on where possible. Note the backboxes attach to the back of the speaker, they do not attach to the building or framing.
Helpful tip: Stealth speakers are specially made for the Australian market in 10mm thickness to suit our plaster. Instructions seen elsewehere will likely refer to the panels being 13mm thick however this is not the case in Australia.
Next ~~essential step~~ before setting, ensure you test the speakers at this point. This will ensure the speaker has no issues but also identify any residual rattles in the ceiling or other potential problems which are much harder to solve later!
From there, the joints can then be taped and set. This is a typical cross sectional view with 10mm plaster:

Helpful tip: Do not use chemical setting / fast curing compounds. These have a habit of shrinking which can lead to hairline cracks. Ensure the plastering is done with an air curing product.
Do not apply excess compound over the face of the speakers! This will affect the sonic performance, ideally no more than 1mm (the grey face of the speakers will make this easy to see through the compound).
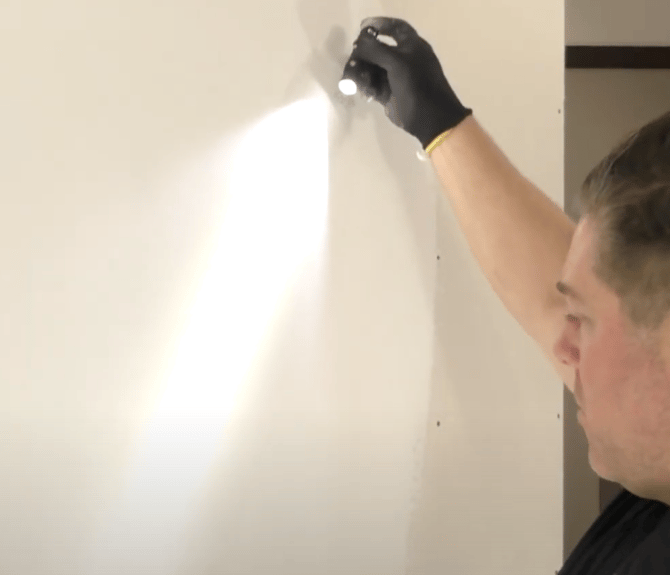
Helpful tip: Shine a light across the surface of the wall to identify any high or low spots which can then be corrected before paining!
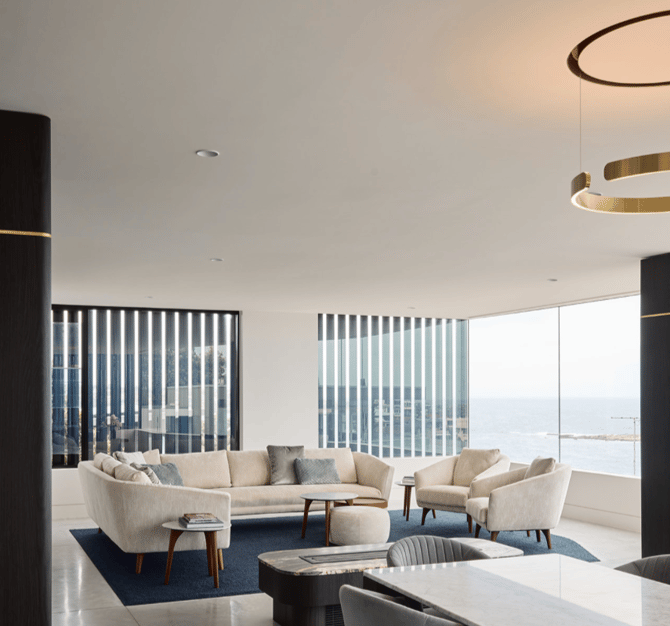
Sit back and enjoy the finished result, beautiful sound and aesthetically pleasing rooms!
For more detailed descriptions of each step, we would also encourage you to watch this video from Stealth Acoustics.